How to make wooden pumpkins using the Bambu Lab R1 laser
by https://www.creativebloq.com/author/beth-nicholls · Creative Bloq
Share this article
0
Join the conversation
Follow us
Add us as a preferred source on Google
Newsletter
Subscribe to our newsletter
You may have heard that Bambu Lab announced a brand new product yesterday (spoiler: It's NOT one of the best 3D printers).
I've been lucky enough to put the new Bambu Lab R1 laser cutter and engraver through its paces for the last few weeks, and one of the first projects I made was this beautiful wooden pumpkin display piece.
Image 1 of 2
Image 1 of 2
View Original
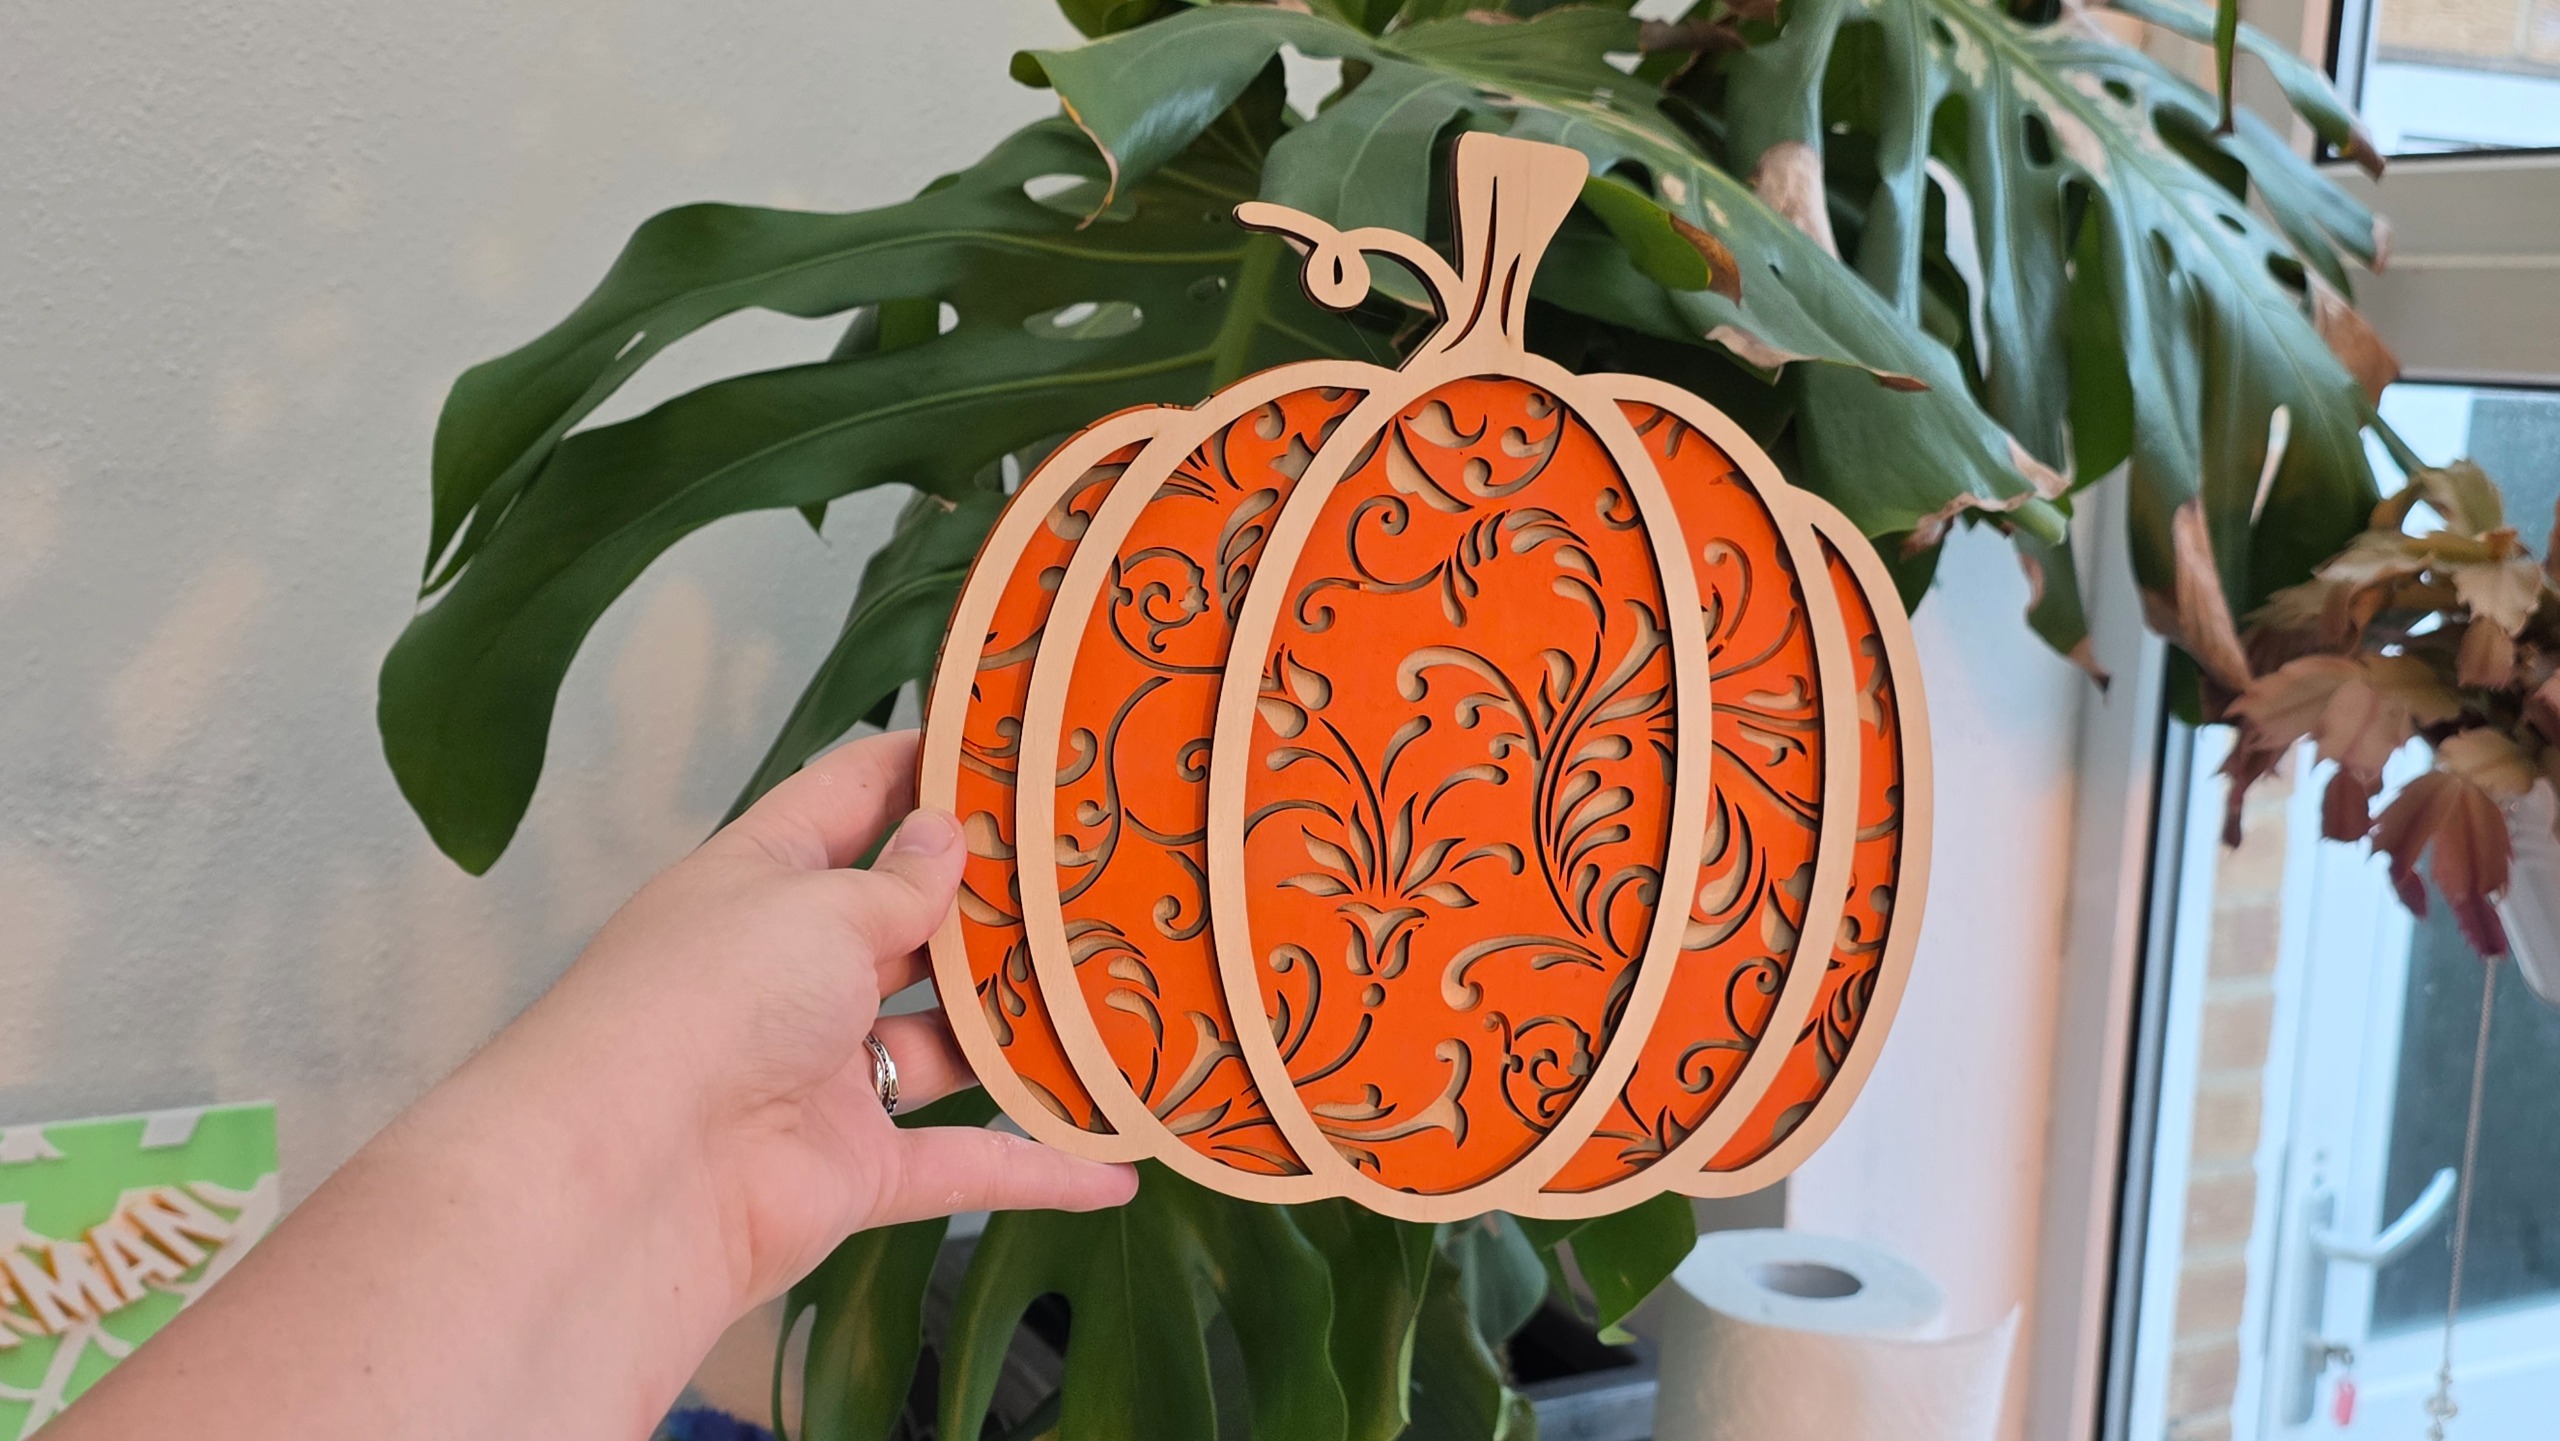
Image 2 of 2
View Original
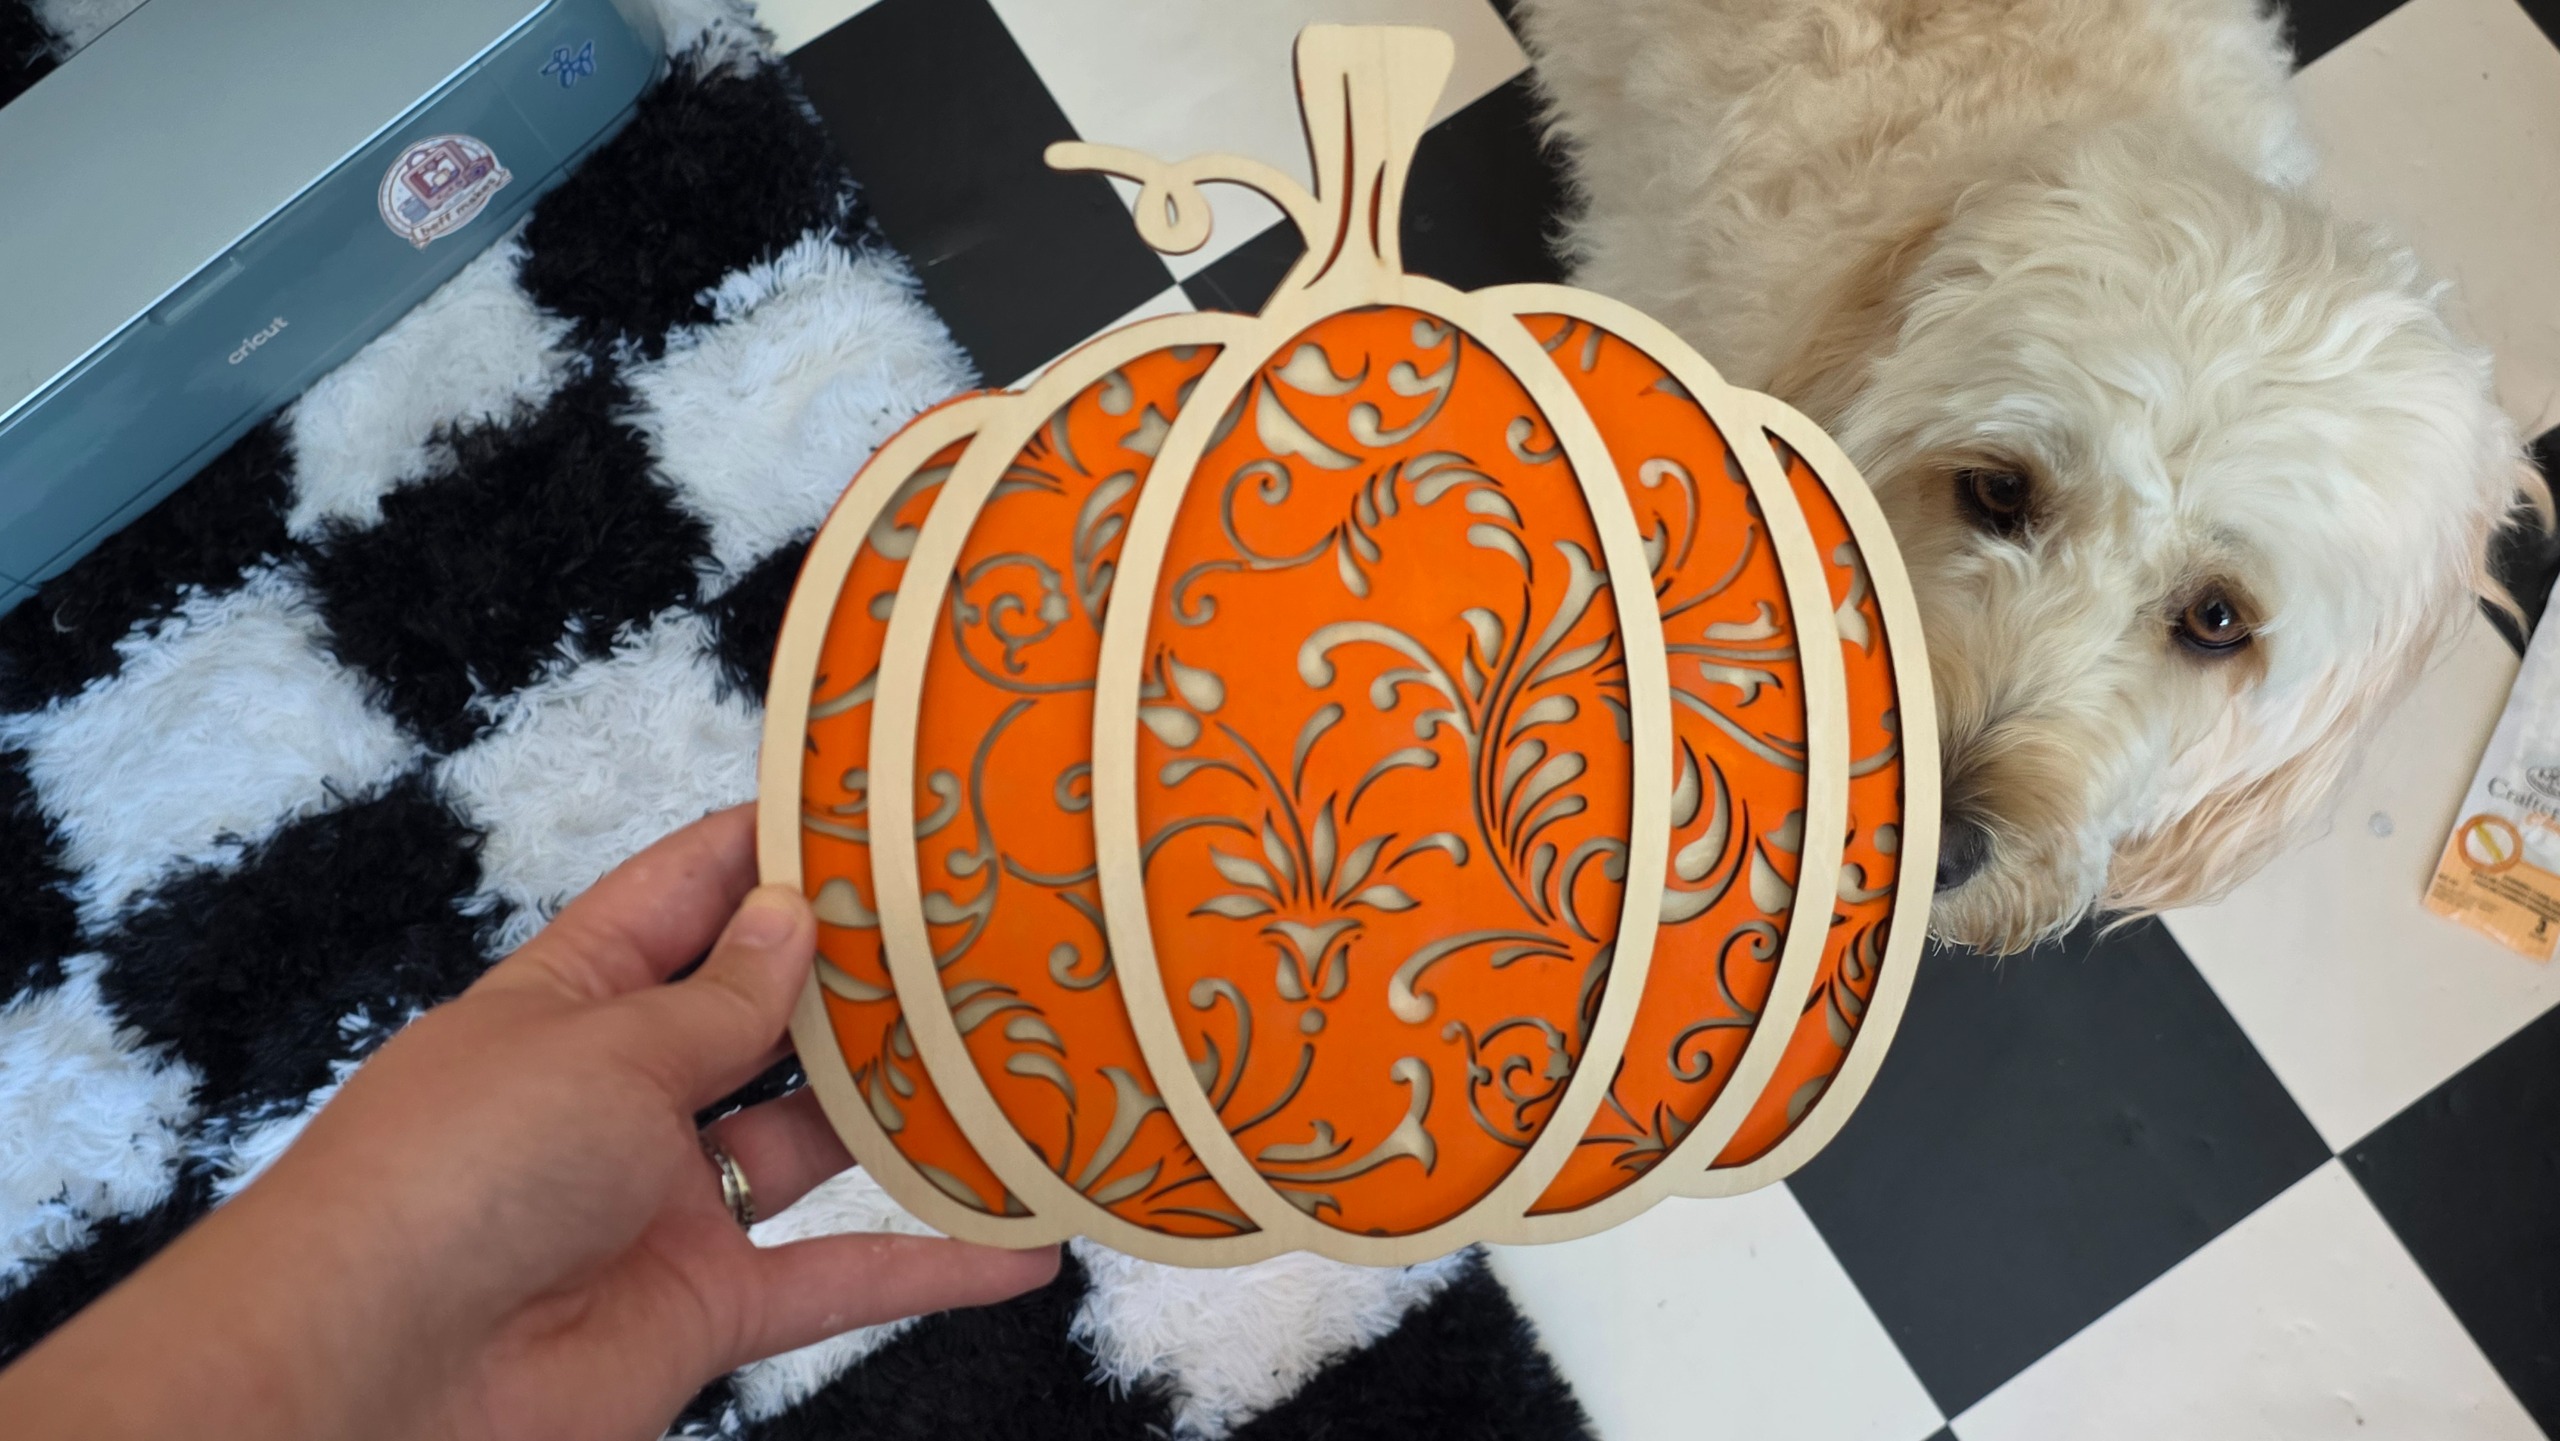
Spooky Season is upon us, and I think this is such a fun and easy craft for anyone who owns one of the best laser cutters and engravers to get involved with. All you need is a laptop with laser software, a laser cutter (duh), some acrylic paint, household glue, and some basswood plywood (I used these Bambu Lab sheets).
Oh – you'll also need to download the SVG files. I downloaded this project from Atomm, uploaded by user Pixel Perfect, so full props go to this creator. Follow along with the video I put together below, and let me know in the comments section how you got on or if you have any questions.
DIY wooden Pumpkin laser tutorial
Craving more autumnal DIY? Check out this pumpkin basket tutorial I put together last year for some cozy home decor inspo.
You may like
First impressions of the beastly new Bambu Lab R1 laser cutter
Here’s how I created a dino sphere with the xTool F2 Ultra UV
Save over 50% on Laser Engravers with these summer savings
Get the Creative Bloq Newsletter
Sign up to Creative Bloq's daily newsletter, which brings you the latest news and inspiration from the worlds of art, design and technology.
Contact me with news and offers from other Future brandsReceive email from us on behalf of our trusted partners or sponsors